
Introduction
Machine learning and data science tasks and other highly explorative workloads profit from project Juypter which enables us to interactively work and visualize with different technologies, frameworks and tooling. While it is a well established standard in the Python ecosystem it can also integrate .NET. Especially with the rise of ML.NET we can leverage Jupyter Notebooks to train and document machine learning models. Furthermore it also increases the comfort while extracting data from field devices in IoT projects. In this post I'll show you how to setup Jupyter to work with .NET.
Prerequisites
To follow the instructions in this article following prerequisites have to be fullfilled:
- Python environment (I use miniconda to create a separate Python 3.11 installation for this demo)
- .NET 8 SDK
Setup conda environment
You can skip this step when you already have a working python installation. Otherwise we can create a new environment by issuing the following terminal commands
Install Jupyter
First we need to install and start project Jupyter on our machine which is achieved by issuing the following command.
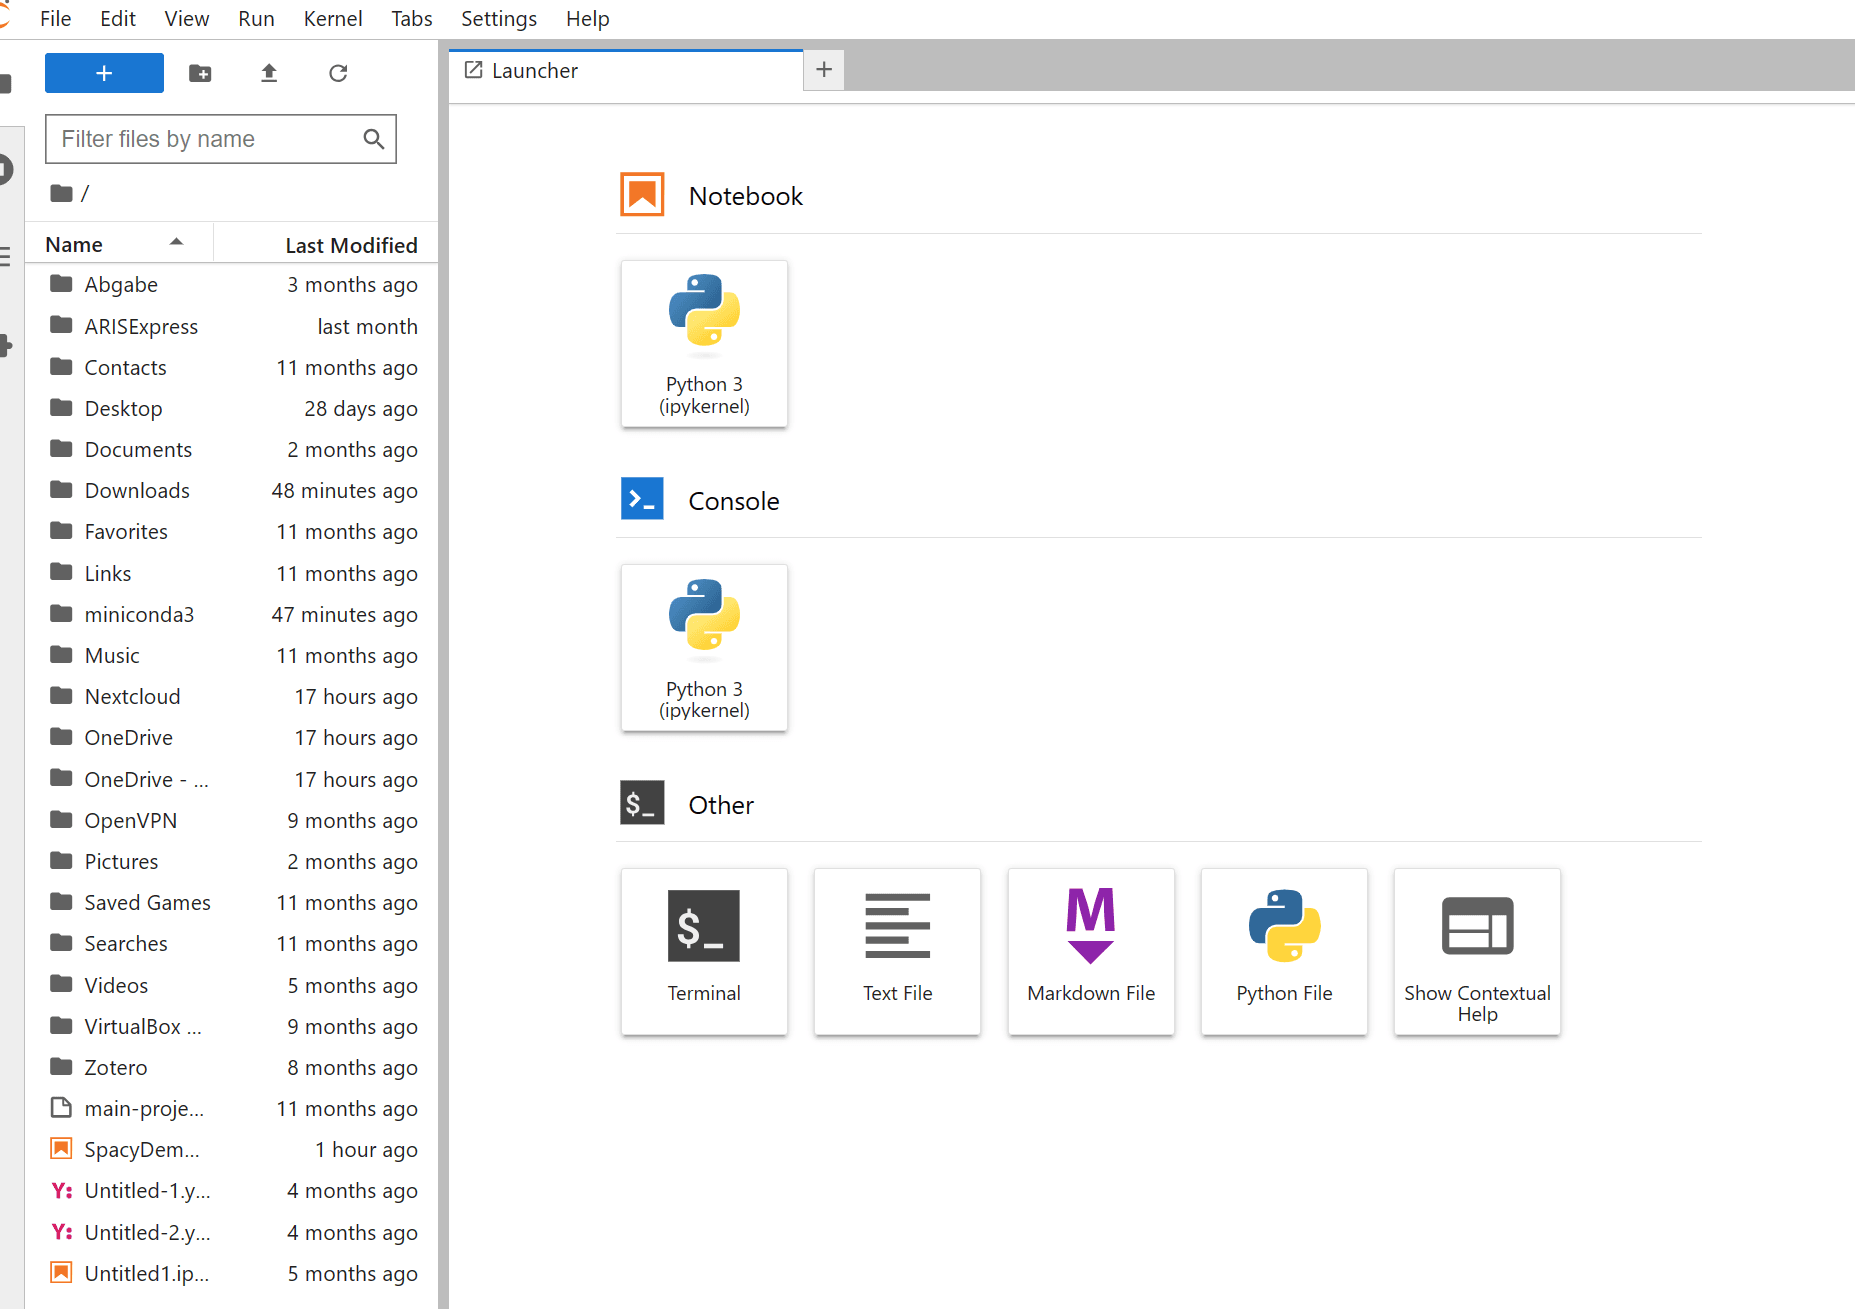
The application should automatically open a new browser tab with the correct url. If not the server can be reached at http://localhost:8888 and you should be greeted with a similar interface like below. You could directly start and create notebooks that execute in the newly created python environment. But we want to run our notebooks with C# so we need to proceed with the installation.
Install .NET interactive and connect with Jupyter
Next we have to install .NET Interactive to install the .NET jupyter kernel. Therefore we use the dotnet tooling cli. The following command starts the installation
After that we can use the cli to install a new Jupyter kernel by running the following command:
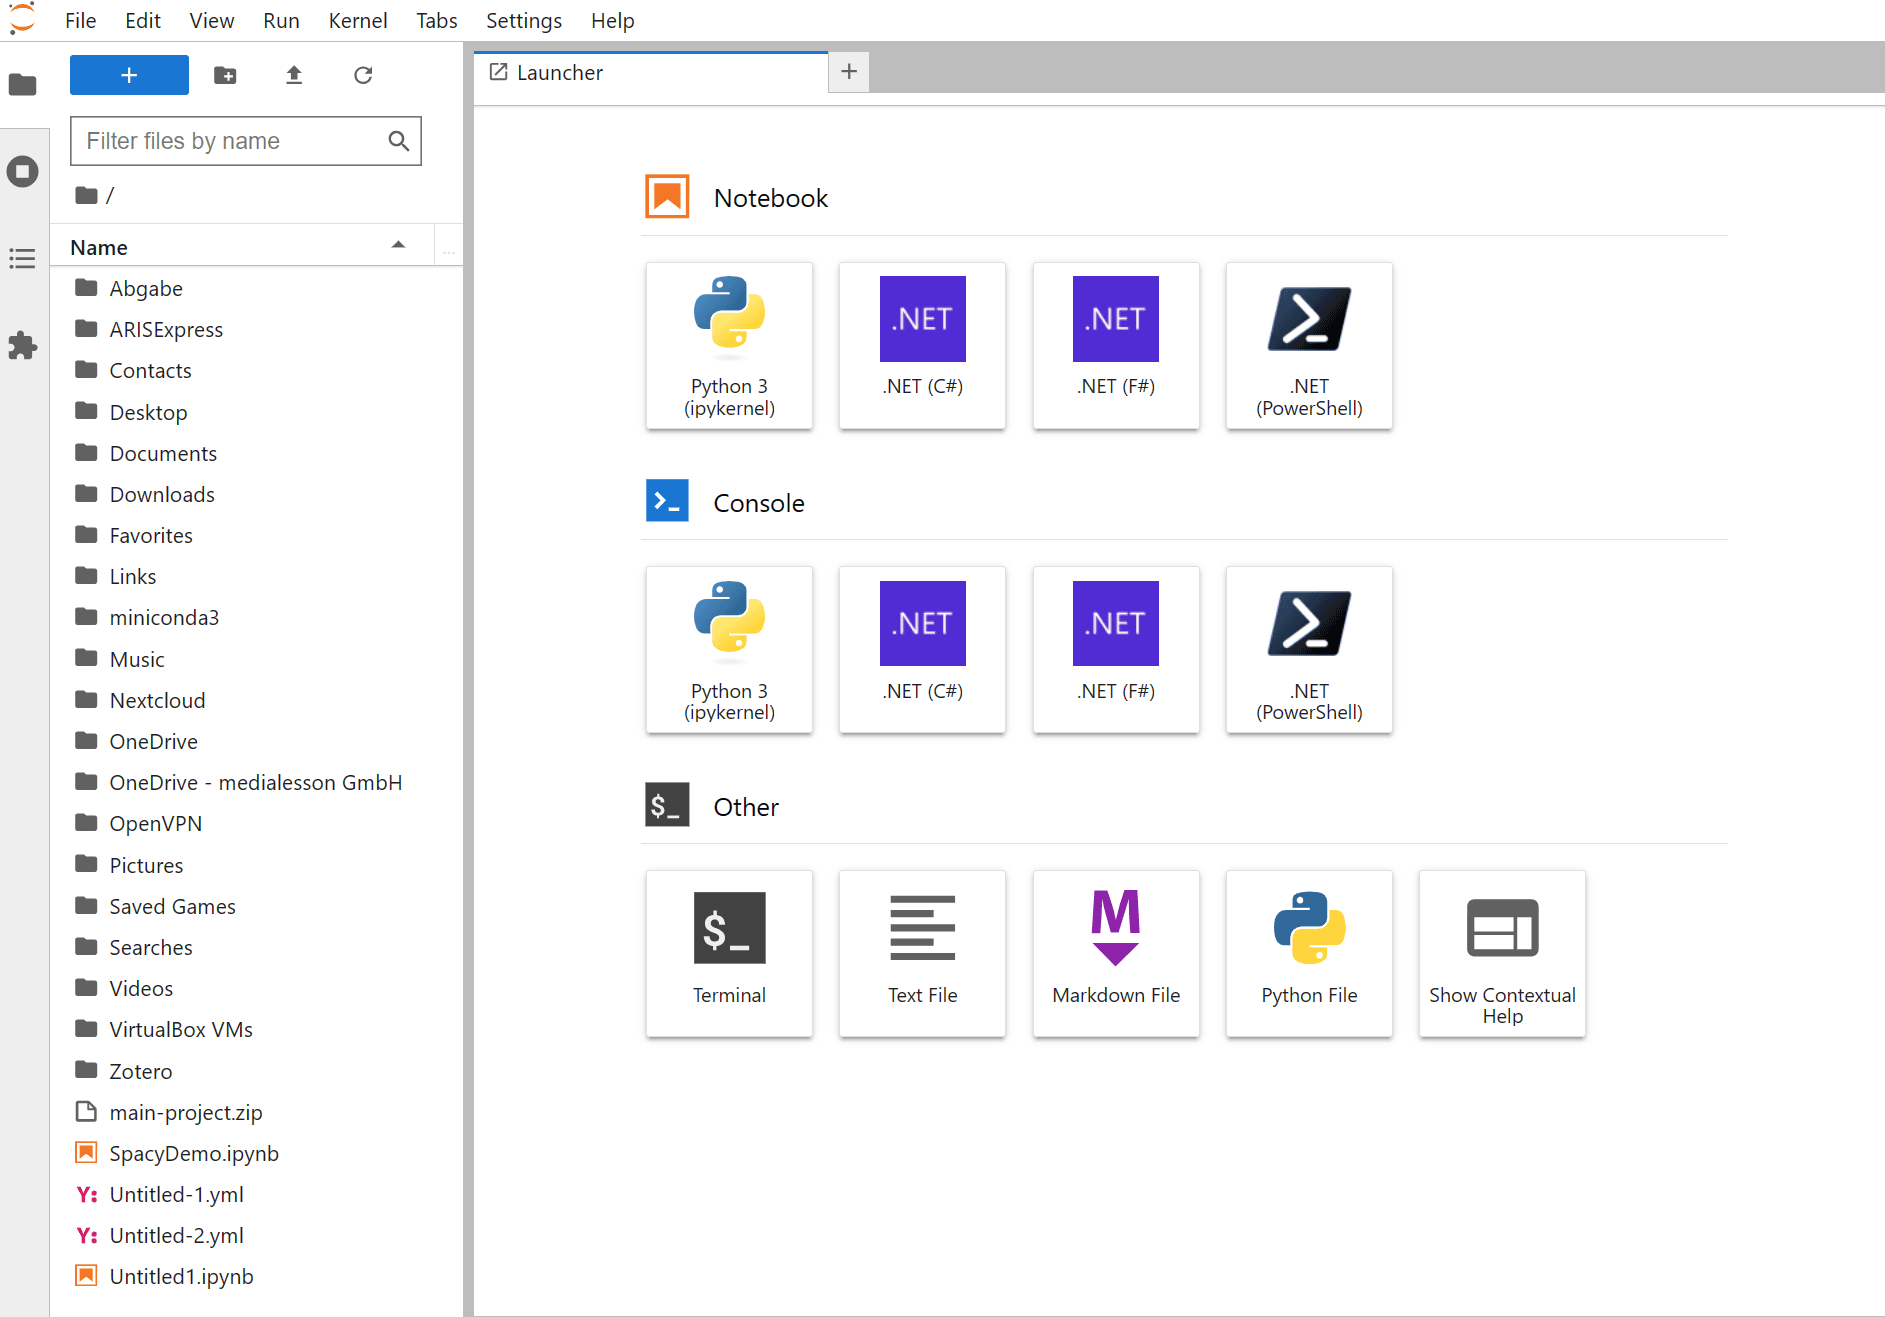
Our jupyter installation should automatically recognize the newly installed kernel and we are able to create a new notebook from a varity of supported CLR languages like C# or F# like shown below.
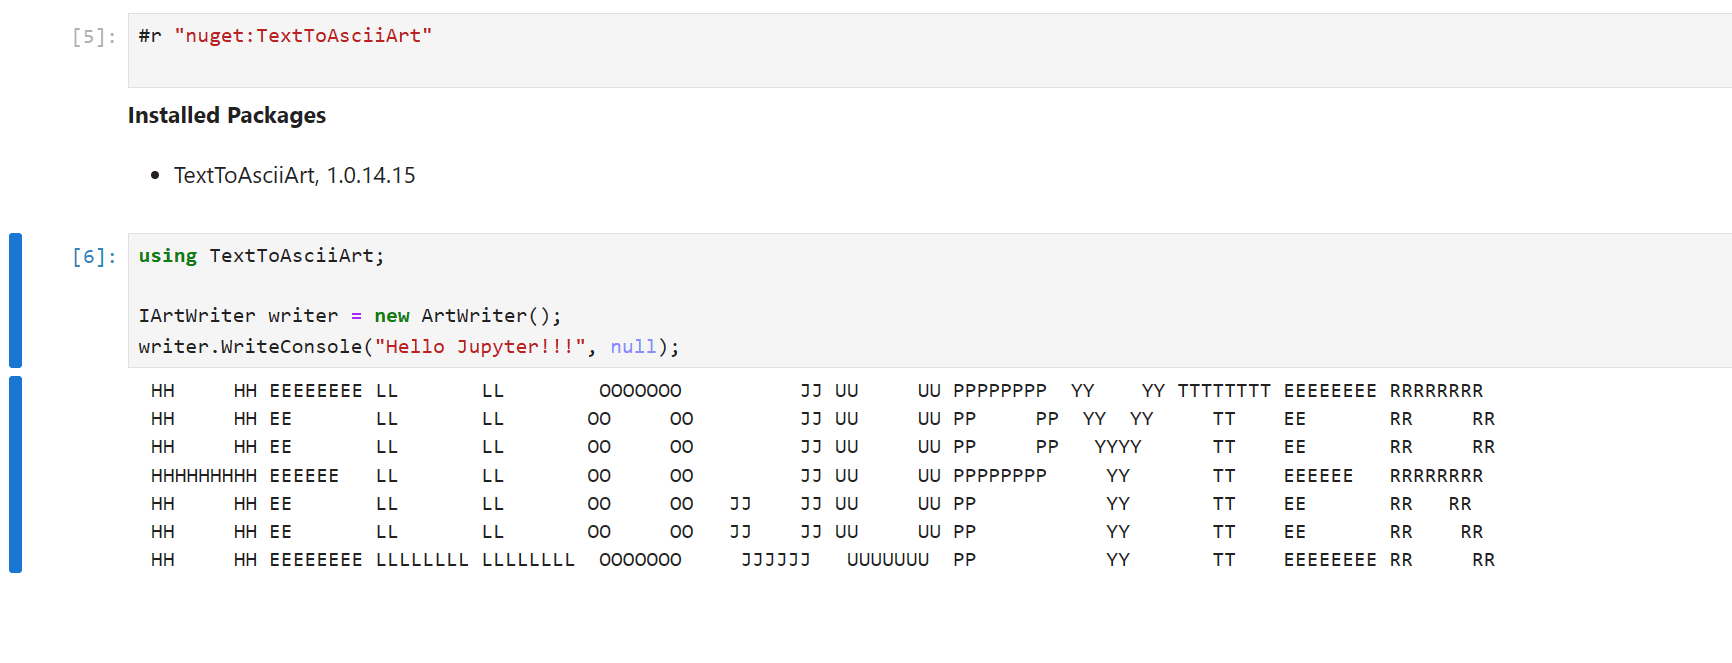
Now we are ready to work with .NET in a new notebook. For example we can install some nuget packages to create a beautiful hello world notebook like shown below.
Conclusion
In this article we have learned how to leverage the fusion between Jupyter notebooks and .NET by installing the .NET Jupyter kernel. This we you are ready to explore exciting technologies like ML.NET or rapidly experiment with .NET libraries or new language features without waiting for console applications to start over and over again. Happy coding!